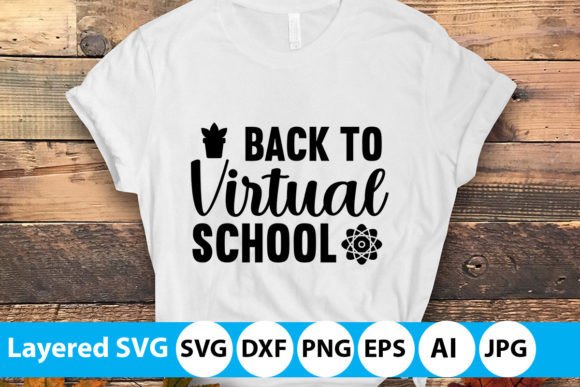
Back to Virtual School Cut Files: A Practical Guide for Educators and Crafters
Back to Virtual School Cut Files is a curated digital design resource tailored for educators, homeschoolers, and crafters preparing learning materials in remote or hybrid settings. Unlike generic school-themed graphics, this collection focuses specifically on the visual language of virtual education—think laptops with video call icons, stylized Wi-Fi symbols, “log in now” banners, and layered text elements that spell out phrases like “Zoom Ready” or “Online Learning Strong.” What sets it apart is its intentional layer-by-layer construction: each word is built as a separate vector object, allowing precise control over color, spacing, alignment, and cut order—critical for multi-material projects or sublimation workflows.
How Back to Virtual School Cut Files Differs from General Education Design Bundles
Many digital cut file collections group school motifs broadly—apples, pencils, backpacks, graduation caps—but those often miss the functional nuance of virtual instruction. Back to Virtual School Cut Files fills that gap by prioritizing interface-aware iconography: microphone mute/unmute toggles, camera-on overlays, calendar sync reminders, and even subtle nods to screen fatigue (“Take a Break” in soft gradients). This specificity matters when designing classroom door signs, student welcome kits, or teacher appreciation gifts that resonate with current realities—not nostalgic ideals.
Equally important is the file versatility. Your download includes one .zip containing six distinct formats: an SVG (optimized for Cricut Design Space and Silhouette Studio), an EPS (for legacy vector editing), a high-resolution PNG (300 DPI, transparent background), a DXF (compatible with laser cutters and some CNC software), an Adobe Illustrator (.ai) file (editable layers preserved), and a JPEG (for quick mockups or print previews). All are delivered at true 300 DPI resolution—no upscaling needed—and structured so that text remains fully editable or separable by word, not just by line or phrase.
When Layered Word Design Adds Real Value
The “word by layer” approach isn’t just stylistic—it’s functional. For example, if you’re cutting vinyl lettering for a laptop decal, having each word on its own layer lets you adjust kerning without distorting outlines. If you're sublimating onto tumblers, you can isolate “Virtual” and apply a cool blue gradient while keeping “School” in crisp black. In educational settings, teachers sometimes use different colors to highlight parts of speech—verbs in red, nouns in green—something only possible when words aren’t fused into a single compound path.
This modularity also supports accessibility adaptations. A special educator might remove decorative elements (like floating clouds or pixelated screens) while retaining clean, bold text layers for students with visual processing sensitivities. Similarly, multilingual classrooms benefit from easy text swaps: replace “Back to School” with “Regreso a la Escuela” using the same layout structure—no redesign required.
Comparing File Format Utility Across Common Tools
Not all cut file formats behave the same way across platforms. SVG files load natively into Cricut Design Space and Silhouette Studio but may require ungrouping steps to access individual words. The included .ai file preserves layer names and grouping logic more reliably, making it ideal for users who regularly tweak designs in Illustrator before exporting for cutting. DXF works well with Glowforge and certain Roland machines but doesn’t support color fill data—so it’s best for outline-only cuts. PNG and JPEG serve as reference visuals rather than cutting sources, though their 300 DPI resolution ensures clarity for printed handouts or digital slide backgrounds.
If your workflow relies heavily on Inkscape or open-source tools, the SVG and DXF files integrate smoothly—but keep in mind that Inkscape handles embedded fonts differently than Illustrator. For guaranteed consistency, open the .ai or EPS first to verify font substitution behavior before converting to other formats.
Real-World Use Cases and Practical Limits
Back to Virtual School Cut Files shines in scenarios where personalization, scalability, and tool flexibility intersect. Consider these examples:
- A district communications team creating branded Zoom background templates for staff—using the layered “Welcome Back” design to insert school logos between words;
- A homeschool parent building reusable learning stations: laminated “Login,” “Mute,” and “Share Screen” cards cut from colored cardstock, each word sized and spaced for consistent handling by young children;
- An art teacher designing a “Digital Citizenship Pledge” banner where students sign beneath individually cut words, reinforcing ownership and participation.
That said, it’s not a universal solution. If you need animated assets, interactive PDFs, or responsive web graphics, this bundle won’t meet those needs—it’s strictly static, production-ready vector and raster files. It also assumes basic familiarity with vector editing or cutting software; beginners may need to invest time learning how to ungroup, align, or resize layers without distortion. And while the designs are modern and inclusive in tone, they don’t include illustrated characters or culturally specific references—so educators serving highly diverse populations may want to supplement with custom illustrations.
Who Benefits Most—and When to Look Elsewhere
Back to Virtual School Cut Files suits users who value precision, cross-platform compatibility, and thematic relevance over novelty or volume. It’s especially useful if you already own a cutting machine or sublimation setup and want to minimize design time without sacrificing quality. Teachers managing multiple grade levels appreciate being able to scale the same file for bulletin boards (large), desk tags (medium), and digital badges (small)—all while maintaining legibility and proportional balance.
Conversely, if your priority is rapid deployment with zero editing—say, downloading ready-to-print posters or pre-sized social media graphics—then a subscription-based design platform with drag-and-drop templates may better match your workflow. Likewise, if you work primarily with embroidery machines or heat-transfer vinyl requiring stitch files or specialized contour cuts, this bundle’s focus on universal vector formats means additional conversion steps will be necessary.
Making an Informed Choice
Before selecting any digital cut file resource, consider three practical questions: First, what’s your primary output method? (Cutting machine, sublimation, print, or digital display?) Second, how much time are you willing to spend adjusting layouts versus using them as-is? Third, does the visual vocabulary align with your audience’s experience—not just “school,” but “virtual school” as it exists today?
Back to Virtual School Cut Files addresses those questions directly. Its layered architecture supports iterative refinement. Its format range reduces software lock-in. And its subject focus avoids the mismatch that occurs when generic education graphics feel dated or off-topic in a screen-based context. That doesn’t mean it replaces broader design libraries—but it does fill a distinct, increasingly relevant niche with technical care and pedagogical awareness.
Ultimately, the value lies not just in what’s included, but in how thoughtfully it’s constructed for real tasks: cutting cleanly, scaling reliably, adapting gracefully, and communicating clearly—all within the evolving landscape of learning beyond the physical classroom.